

Bringing Your Garden Back to Life: Starting Ranunculus Indoors for Spectacular Spring Blooms
There's a unique kind of hope that blossoms in a gardener's heart after a setback. Perhaps you've faced the daunting challenge of a devastating plant disease, or maybe you're simply looking to introduce a burst of vibrant color to a previously neglected space. For me, it was the infamous rose rosette disease that swept through my front yard, leaving behind a stark, blank canvas where beautiful roses once thrived.
It's a disheartening experience to lose cherished plants, but it also presents an exciting opportunity for renewal and discovery. This year, my journey to revitalizing my landscape begins with the enchanting ranunculus, also known as Persian buttercups. These exquisite flowers promise a spectacular display of color, and while they might seem delicate, with the right approach, even gardeners in cooler zones can enjoy their splendor.
The Allure of Ranunculus: A Spring Spectacle with a Touch of Resilience
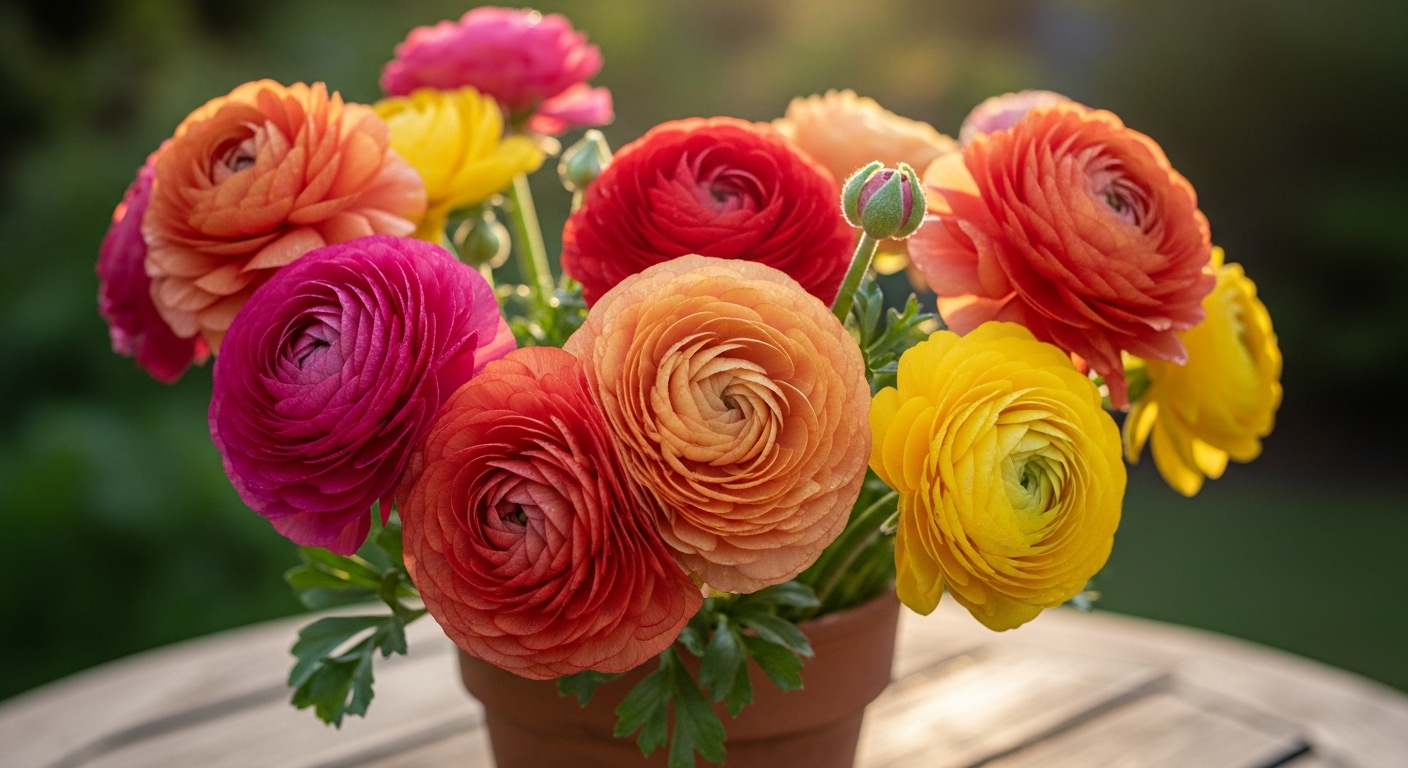
Imagine a garden filled with layer upon layer of delicate, papery petals, resembling tiny, perfectly formed roses. That's the magic of ranunculus. These captivating blooms emerge in a stunning array of colors, from vibrant oranges and fiery reds to soft pinks, pure whites, and deep purples, offering a truly breathtaking spectacle from early spring through early summer.
Ranunculus are typically planted in late fall or early winter (around December through January) to ensure their glorious bloom period in April and May, lasting a good four to six weeks. They thrive in full sun and prefer well-draining soil, making them an ideal choice for adding elegance to garden beds, borders, or even containers. Despite their seemingly fragile appearance, these flowers boast a surprising resilience, though they do have their limits when it comes to extreme cold.
Understanding your USDA hardiness zone is crucial for success with ranunculus. These bulbs are generally considered perennial in zones 8 through 10, meaning they can typically survive outdoors in the soil through the winter and return year after year. However, if you're like me and reside in zone 8a, you know that 'typical' doesn't always account for those unexpected, brutal cold snaps. We often experience week-long freezes where temperatures plummet below 25°F, which can be devastating for these otherwise hardy corms.
My own front yard became a blank slate not by choice, but due to the aggressive and incurable rose rosette disease. It's a stark reminder that even the most established and robust plants can fall victim to unforeseen challenges. But where one chapter ends, another begins, and that's precisely why I'm so excited to introduce ranunculus. They represent a fresh start, a vibrant promise of spring, and a testament to the enduring spirit of gardening. Choosing to start them indoors is my way of giving them the very best chance to flourish, protecting them from the unpredictable whims of winter weather and ensuring my garden bursts with life once more.
Awakening the 'Claws': The Crucial First Step to Hydrating Ranunculus Bulbs
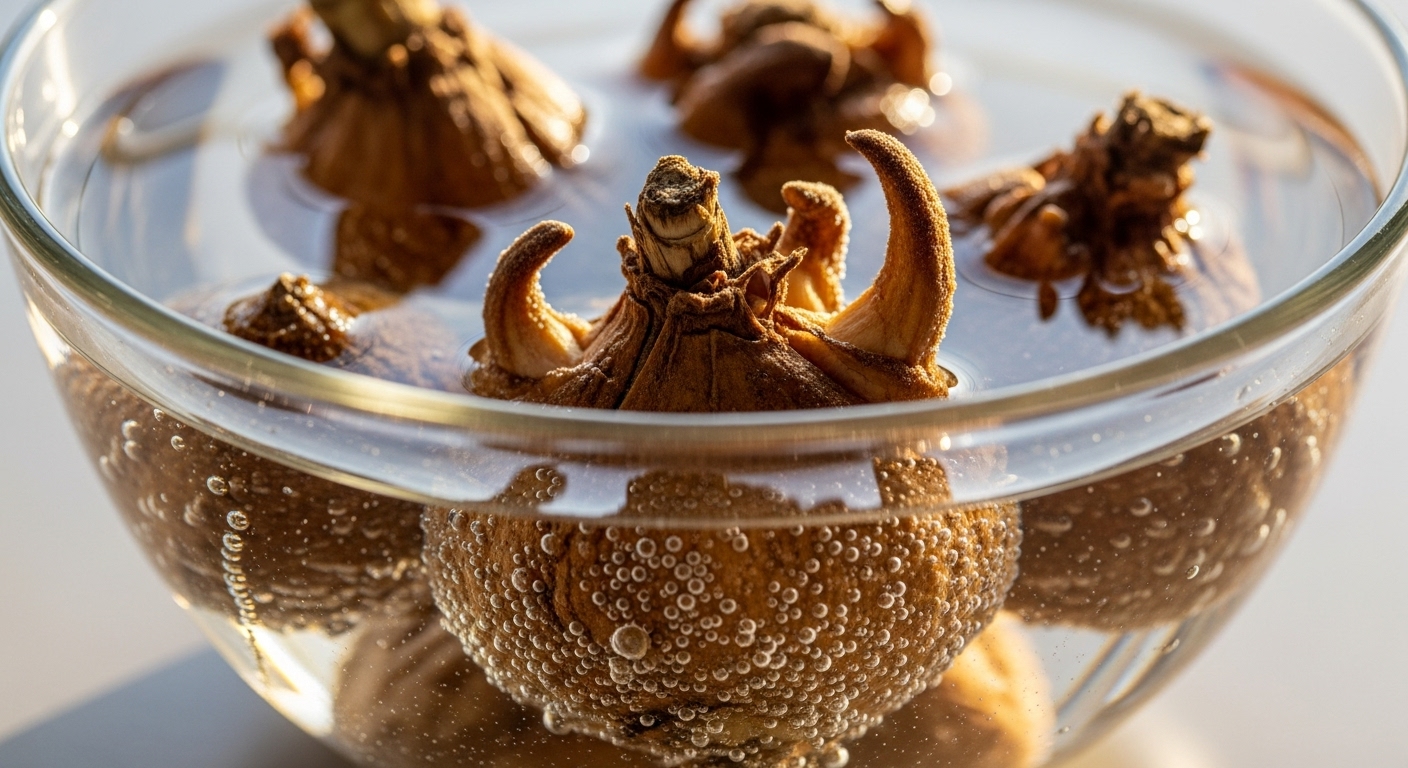
When you first receive ranunculus bulbs, you might be a little surprised by their appearance. They don't look like typical round or oval bulbs; instead, they resemble small, dried-up octopus 'claws' or tiny bunches of bananas. This unique shape is perfectly normal for a dormant ranunculus corm (which is technically a corm, not a bulb, but the terms are often used interchangeably in gardening).
The key to successfully growing ranunculus lies in properly awakening these dormant corms. They've been stored in a dry state, and before they can begin to sprout, they need a good drink. This process, known as hydration or soaking, is absolutely critical. Think of it like rehydrating dried fruit – you need to plump it up before it's ready to be used.
To begin, gently place your ranunculus corms in a bowl of room-temperature water. You'll want to soak them for approximately two to three hours. It's a good idea to check on them periodically during this time. As they absorb water, you'll notice them visibly swelling and plumping up, losing their shriveled appearance and becoming noticeably larger and firmer. This transformation is a clear sign that they are successfully absorbing moisture and are on their way to breaking dormancy.
Some gardeners prefer to add a touch of seaweed extract or a rooting hormone to the soaking water, believing it can further encourage healthy root development. While not strictly necessary, it can be a beneficial boost. The most important thing is to avoid soaking them for too long, as this can lead to rot, particularly if the water isn't aerated. Two to three hours is generally the sweet spot, giving them enough time to rehydrate without becoming waterlogged. This simple yet vital step is what kickstarts the entire growth process, preparing your 'claws' to become the stunning flowers you've been dreaming of.
Crafting the Perfect Nursery: Indoor Setup for Your Ranunculus Starters
Once your ranunculus corms are plump and hydrated, it's time to provide them with a nurturing environment to begin their growth journey indoors. Starting them inside offers several distinct advantages, especially in zones with unpredictable winters. It protects them from harsh freezes, gives them a significant head start on the growing season, and allows you to control environmental factors like moisture and temperature, leading to a much higher success rate.
For this initial planting phase, I prefer using individual starter pots rather than a large tray. This gives each corm its own space, reducing competition and making it easier to manage them individually later on. You can opt for biodegradable pots, small plastic nursery pots, or even repurposed containers, as long as they have drainage holes.
The secret to healthy ranunculus growth starts with the right potting mix. A good mix needs to be well-draining, airy, and provide some initial nutrients. A simple yet effective combination is equal parts peat moss and perlite. The peat moss retains moisture while providing a light, acidic base, and the perlite ensures excellent drainage and aeration, preventing the corms from sitting in soggy soil and rotting. To this base, I add a generous amount of worm compost – a fantastic natural fertilizer that provides a slow release of essential nutrients, giving your young plants a gentle boost without overwhelming them.
One common mistake, which I’ve certainly made, is using a completely dry potting mix. It's much easier to work with and ensures even moisture distribution if you pre-moisten your mix before planting. Simply add water to your soil blend until it's damp but not waterlogged – it should feel like a wrung-out sponge. This makes it easier for the corms to absorb initial moisture and prevents dry pockets.
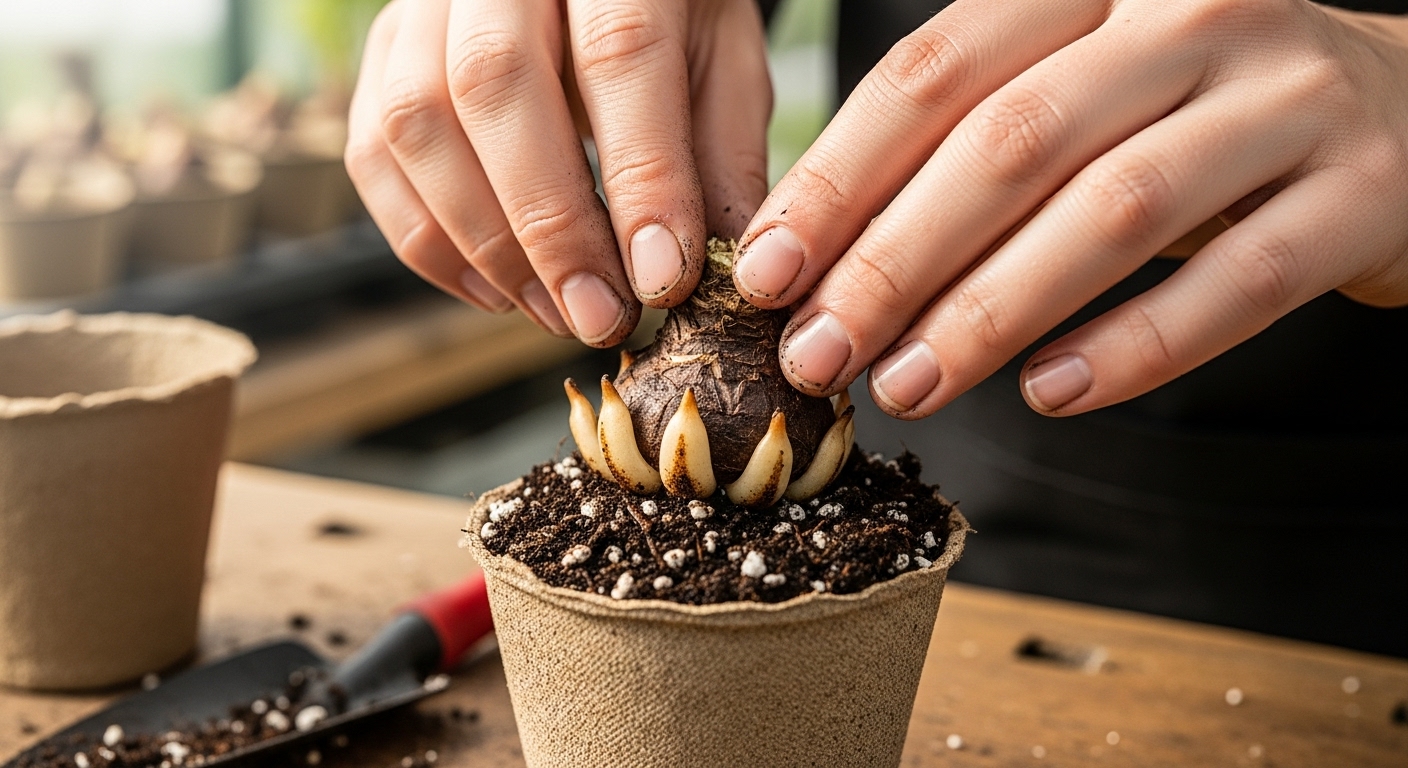
When planting, orient the ranunculus corm with the 'claws' facing downwards, as this is where the roots will emerge. Cover them with about 1-2 inches of your pre-moistened potting mix. After planting, give them a gentle watering if the mix still feels dry, then place your pots in a cool, bright location. A south-facing window or under grow lights will work well, keeping the temperature consistent, ideally between 50-60°F (10-15°C) for optimal sprouting. Avoid overly warm conditions, as this can encourage leggy growth or, worse, rot. Now, the waiting game begins, filled with anticipation for those first green shoots to appear.
From 'Claws' to Crowns: Nurturing Your Sprouting Ranunculus Seedlings
The first few weeks after planting are a period of quiet transformation beneath the soil. While it might seem like nothing is happening, your hydrated ranunculus corms are busy developing a robust root system and preparing to send up their first green shoots. Patience is definitely a virtue in gardening, but the wait is incredibly rewarding when you see those tiny emerald spears break through the soil surface.
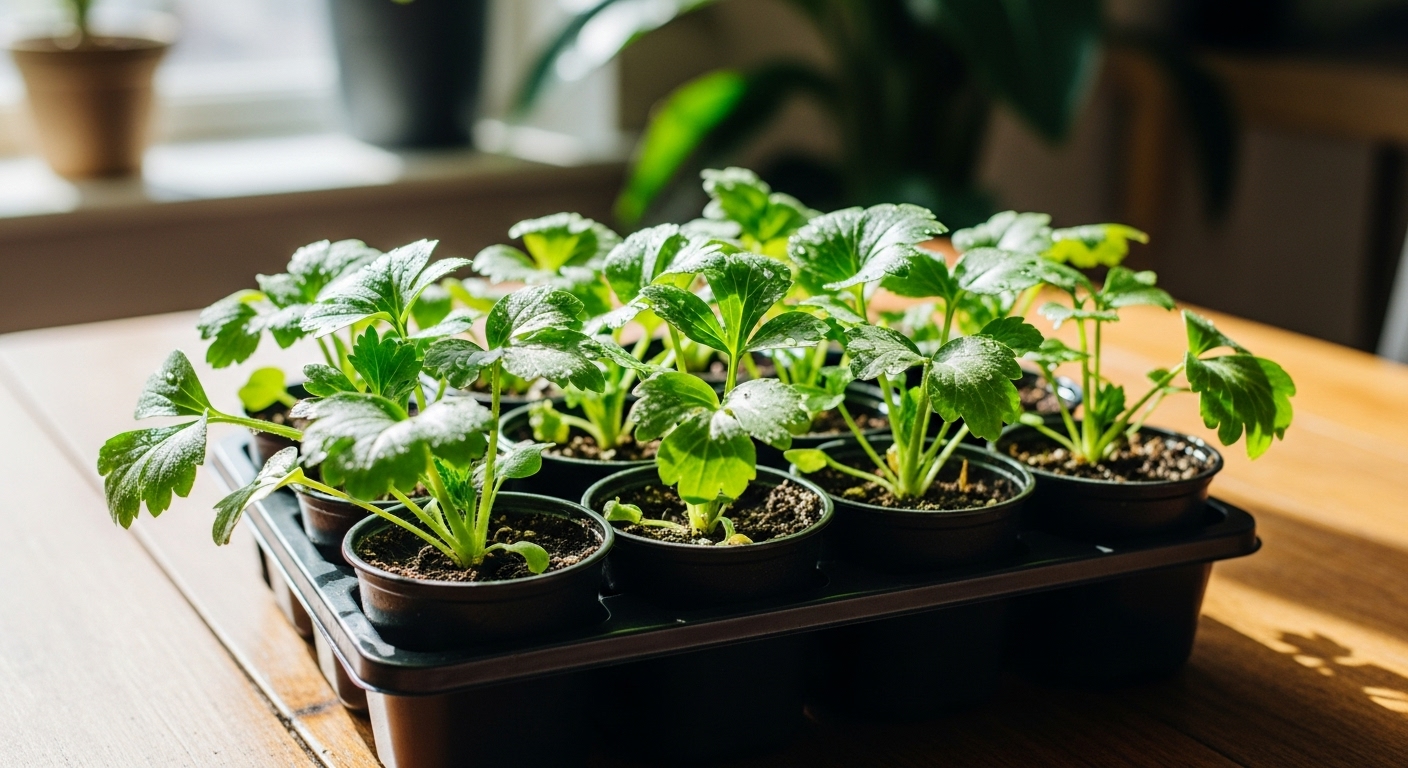
After about three weeks, you should start to see significant sprouting, as I did with my batch. It's a wonderful feeling to witness almost every pot showing signs of life! If a few pots are lagging, don't despair immediately. Sometimes, inconsistent moisture or slightly cooler temperatures can delay sprouting for a short period. As long as the soil isn't waterlogged and the corms feel firm, there's still hope. Healthy sprouts will have vibrant green foliage, appearing compact and robust.
Watering at this stage is crucial. You want to keep the soil consistently moist but never soggy. Overwatering is the quickest way to invite fungal issues and corm rot, which is why a well-draining potting mix is so vital. Allow the top inch of soil to dry out slightly before watering again. For small starter pots, this might mean watering every few days, depending on the humidity and temperature of your indoor environment. A good way to check is by feeling the soil with your finger or by lifting the pot – a lighter pot often indicates a need for water.
Light is another essential factor. While they're indoors, provide your ranunculus seedlings with plenty of bright, indirect light. A sunny window is great, but if natural light is insufficient, consider using supplemental grow lights. This prevents them from becoming leggy and weak, ensuring they develop strong stems and healthy leaves. Keep the lights about 6-12 inches above the plant canopy and adjust as they grow.
In about a week or so after significant sprouting, when the seedlings have developed a few sets of true leaves and their root systems are starting to fill their small starter pots, it will be time to move them to larger containers. This step gives them more room to grow and develop before their eventual transition outdoors. This gradual up-potting ensures minimal shock and continuous, healthy development, setting the stage for their glorious outdoor display.
From Indoor Sanctuary to Outdoor Splendor: Transplanting and Continued Care
The journey of your ranunculus from tiny, dormant 'claws' to thriving indoor seedlings is a testament to careful nurturing. The next exciting phase involves preparing them for their grand debut in the garden. This transition, known as hardening off, is crucial to help your plants adapt to the outdoor environment and prevent transplant shock.
Hardening off involves gradually exposing your ranunculus to outdoor conditions – sunlight, wind, and fluctuating temperatures – over a period of 7-10 days. Start by placing them in a sheltered, shady spot for a few hours each day, gradually increasing their exposure to sunlight and extending the time they spend outdoors. Bring them inside if temperatures are expected to drop significantly, especially below freezing. This slow acclimation will strengthen your plants, making them much more resilient when finally planted in their permanent outdoor home.
Choosing the right outdoor location is paramount for ranunculus success. They demand full sun, meaning at least six hours of direct sunlight daily, and excellently draining soil. If your garden soil is heavy clay, amend it generously with organic matter like compost, peat moss, or sand to improve drainage. Poor drainage is a death sentence for ranunculus corms, leading to rot.
When the danger of hard frost has passed and your plants are hardened off, it's time to transplant. Dig holes large enough to accommodate the root ball without crowding. Gently remove the ranunculus from their pots, being careful not to disturb the roots too much. Plant them at the same depth they were in their containers, spacing them about 6-9 inches apart to allow for good air circulation. Water them thoroughly after planting to help settle the soil around the roots.
Ongoing care involves consistent watering, especially during dry spells, though always ensuring the soil doesn't become waterlogged. A light application of a balanced, slow-release fertilizer at planting time can also give them a boost. As the flowers begin to bloom, deadhead spent blossoms regularly. This encourages the plant to produce more flowers instead of putting energy into seed production, extending your bloom season significantly. If you're in a colder zone (below 8), you may need to lift your corms in the fall before the first hard freeze, dry them, and store them in a cool, dark, dry place over winter to replant the following spring. With proper care, your indoor-started ranunculus will transform your garden into a riot of stunning, rose-like blooms, proving that challenges can lead to beautiful new beginnings.
Conclusion
Starting anew in the garden can be one of the most rewarding experiences, especially when overcoming challenges like plant disease. My journey to revive my front yard with vibrant ranunculus, beginning with the meticulous process of indoor starting, is a perfect example of this. From rehydrating those curious 'claws' to nurturing delicate seedlings and finally preparing them for their outdoor display, every step is a labor of love that promises a spectacular payoff.
By taking the time to start ranunculus indoors, especially in zones prone to unpredictable freezes, you're not just planting flowers; you're investing in a higher success rate, earlier blooms, and a more controlled growing environment. The joy of seeing those first sprouts emerge and knowing you've given them the best possible start is truly unparalleled. So, if you're looking to add a burst of stunning color to your garden, don't shy away from these magnificent buttercups. Embrace the process, enjoy the journey, and prepare to be dazzled by the beauty of ranunculus. Happy gardening!